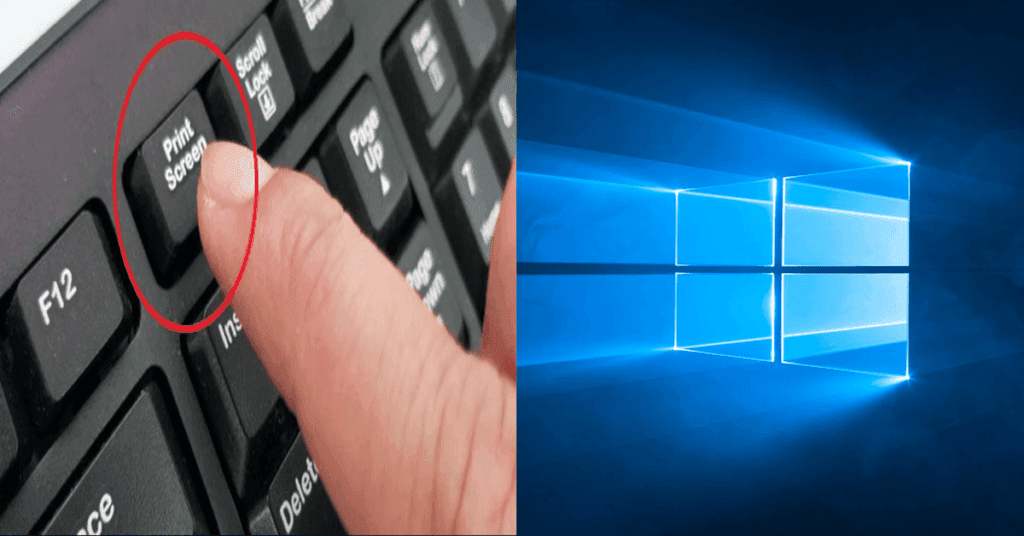
Taking a screenshot, also known as “print screen,” on Windows is an essential skill for capturing and sharing information. Whether you’re saving an error message for troubleshooting, capturing an important document, or taking a snapshot of your favorite moment in a game, Windows provides multiple methods to take screenshots.
In this comprehensive guide, we’ll explore various ways to print screen on Windows, covering built-in tools, keyboard shortcuts, third-party applications, and even advanced methods for power users.
Table of contents
- Using the Print Screen (PrtScn) Key
- Using Windows + Shift + S (Snip & Sketch)
- Using the Windows Key + Print Screen (PrtScn) for Automatic Saving
- Using the Snipping Tool (Windows 7, 8, 10, 11)
- Using the Game Bar (For Gamers)
- Using Third-Party Screenshot Tools
- Using Microsoft OneNote for Screenshots
- Taking Screenshots on Multiple Monitors
- Saving Screenshots in Different Formats
- Automating Screenshot Capture
- Editing and Annotating Screenshots
- Using Cloud Storage for Screenshots
Using the Print Screen (PrtScn) Key
The Print Screen key (often labeled as “PrtScn” or “PrtSc”) is the most basic method for taking a screenshot on Windows. It allows you to capture the entire screen, which you can then paste into an image editing tool.
1.1 Capturing the Entire Screen
Press the PrtScn key on your keyboard.
Open an image editor (such as Paint, Microsoft Word, or Photoshop).
Press Ctrl + V to paste the screenshot.
Save the file in your desired format (PNG, JPG, etc.).
1.2 Capturing Only the Active Window
Click on the window you want to capture.
Press Alt + PrtScn.
Open an image editor and paste the screenshot.
Save the file.
Using Windows + Shift + S (Snip & Sketch)
Snip & Sketch is an improved screenshot tool introduced in Windows 10 and later versions.
How to Take a Screenshot on Any Android Phone – Easy Methods
2.1 Steps to Use Snip & Sketch
Press Windows + Shift + S.
Your screen will dim, and a toolbar will appear at the top with different snipping options:
Rectangular Snip: Select a portion of the screen in a rectangular shape.
Freeform Snip: Draw a freeform shape to capture.
Window Snip: Capture an open window.
Full-screen Snip: Capture the entire screen.
The screenshot is copied to the clipboard and can be pasted into an image editor.
A notification will appear allowing you to edit and save the screenshot.
Using the Windows Key + Print Screen (PrtScn) for Automatic Saving
If you want to capture the entire screen and save it automatically, this method is for you.
3.1 Steps to Use Windows + PrtScn
Press Windows + PrtScn.
The screen will dim momentarily, indicating a successful screenshot.
The image is automatically saved in the Pictures > Screenshots folder.
R E P O Game Guide: Rules, Tips, Tricks and Winning Strategies
Using the Snipping Tool (Windows 7, 8, 10, 11)
The Snipping Tool is a built-in Windows application that allows you to take various types of screenshots.
4.1 How to Use the Snipping Tool
Open the Snipping Tool by searching for it in the Start menu.
Click New and select a snip type:
Freeform Snip
Rectangular Snip
Window Snip
Full-screen Snip
Take your screenshot and use the built-in editor to annotate or save it.
How to Make Money Selling Digital Products
Using the Game Bar (For Gamers)
The Game Bar is a feature in Windows 10 and Windows 11 that allows you to take screenshots and record gameplay.
5.1 Steps to Use the Game Bar
Press Windows + G to open the Game Bar.
Click the Capture button (or press Windows + Alt + PrtScn to take a screenshot immediately).
Screenshots are saved in the Videos > Captures folder.
Using Third-Party Screenshot Tools
While Windows provides built-in tools, third-party apps offer more advanced features like annotation, cloud storage, and instant sharing.
WhatsApp Android Beta: Motion Photos Feature and Updates
6.1 Popular Third-Party Screenshot Tools
Lightshot: Easy-to-use, quick sharing options.
Greenshot: Advanced annotation and editing features.
Snagit: Professional-level screen capture and recording.
ShareX: Open-source tool with customizable automation features.
PicPick: Advanced editing, capturing, and annotation capabilities.
Using Microsoft OneNote for Screenshots
Microsoft OneNote has a built-in screenshot feature.
7.1 Steps to Take a Screenshot with OneNote
Open OneNote.
Press Windows + Shift + S (OneNote’s shortcut for screenshots).
Select the area you want to capture.
The screenshot is copied to the clipboard and can be pasted into OneNote or other apps.
Taking Screenshots on Multiple Monitors
For users with multiple monitors, the default Print Screen method captures all screens. To capture a single monitor:
Click on the desired monitor.
Press Alt + PrtScn to capture only the active window.
Saving Screenshots in Different Formats
Windows screenshots are typically saved as PNG files, but you can convert them to JPG, BMP, or GIF using Paint or an image editor.
Automating Screenshot Capture
For repetitive tasks, you can use software like ShareX to automate screenshots at set intervals.
Editing and Annotating Screenshots
After capturing a screenshot, you might want to edit it for better clarity.
11.1 Editing with Microsoft Paint
Open Paint and paste the screenshot.
Crop, resize, or annotate using the built-in tools.
Save the edited screenshot.
11.2 Editing with Snip & Sketch
Open the Snip & Sketch app.
Paste or open the screenshot.
Use tools like a pen, highlighter, and cropping.
Save or share the edited image.
Using Cloud Storage for Screenshots
Many screenshot tools allow direct saving to cloud storage.
OneDrive: Automatically syncs screenshots to the cloud.
Google Drive/Dropbox: Manually upload and organize screenshots.
Snagit and ShareX: Built-in cloud integration for easy sharing.

1 Comment
Pingback: Why Is Your Windows 11 Laptop or PC Slow to Start Up? (2025)